How to Make Candles at Home
Making candles at home sounds like a project until you actually try it.
In reality, it’s a simple process. Melt, mix, pour, and let it set. That’s the core of it.
What makes the difference is not skill, but how easy you make the setup for yourself.
Why people enjoy candle making
It’s one of those rare activities where you stay focused without feeling rushed.
You’re working with scent, texture, and timing but nothing feels overwhelming. There’s no pressure to get everything perfect. You just follow a few steps and let things come together.
And at the end, you have something you’ll actually use.
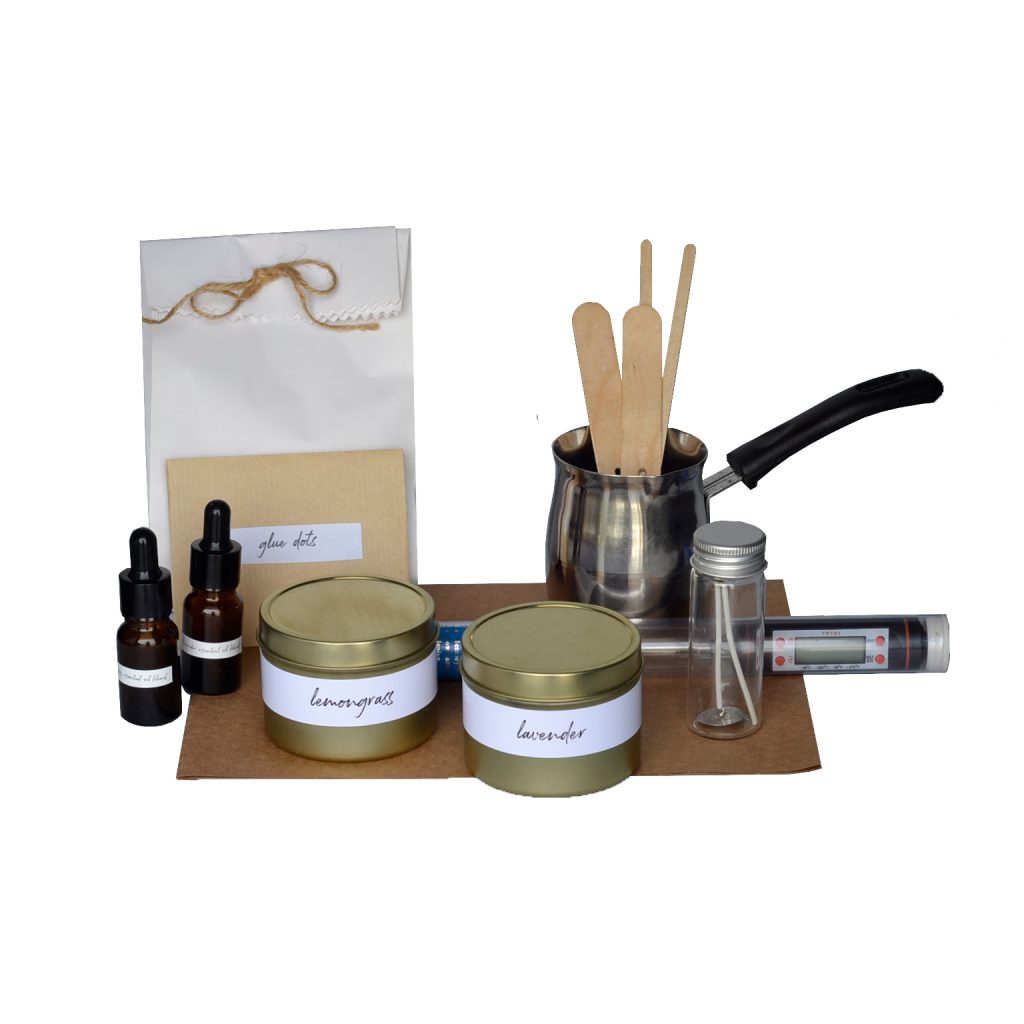
What you need to get started
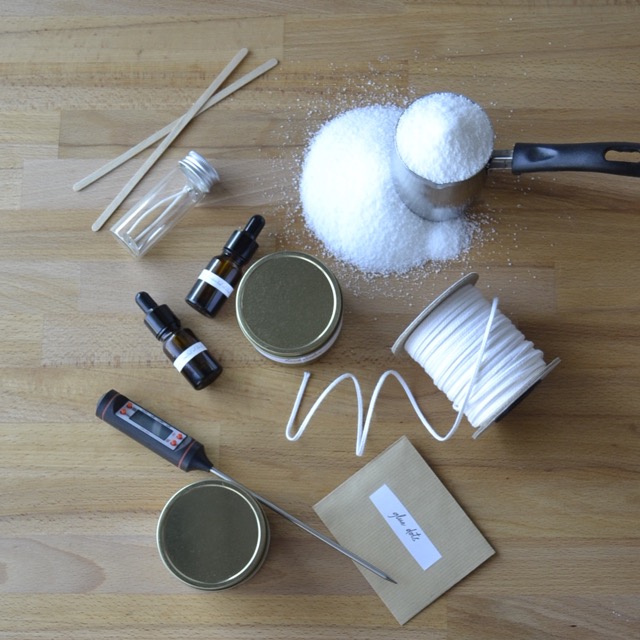
To make candles at home, you’ll need:
- Palm wax
- Wick
- Container (jar or tin)
- Fragrance (essential oils )
- A pouring jug
- A thermometer (recommended)
- An induction plate or gas cooking range
This is usually where beginners pause because sourcing and measuring everything can feel like a lot upfront.
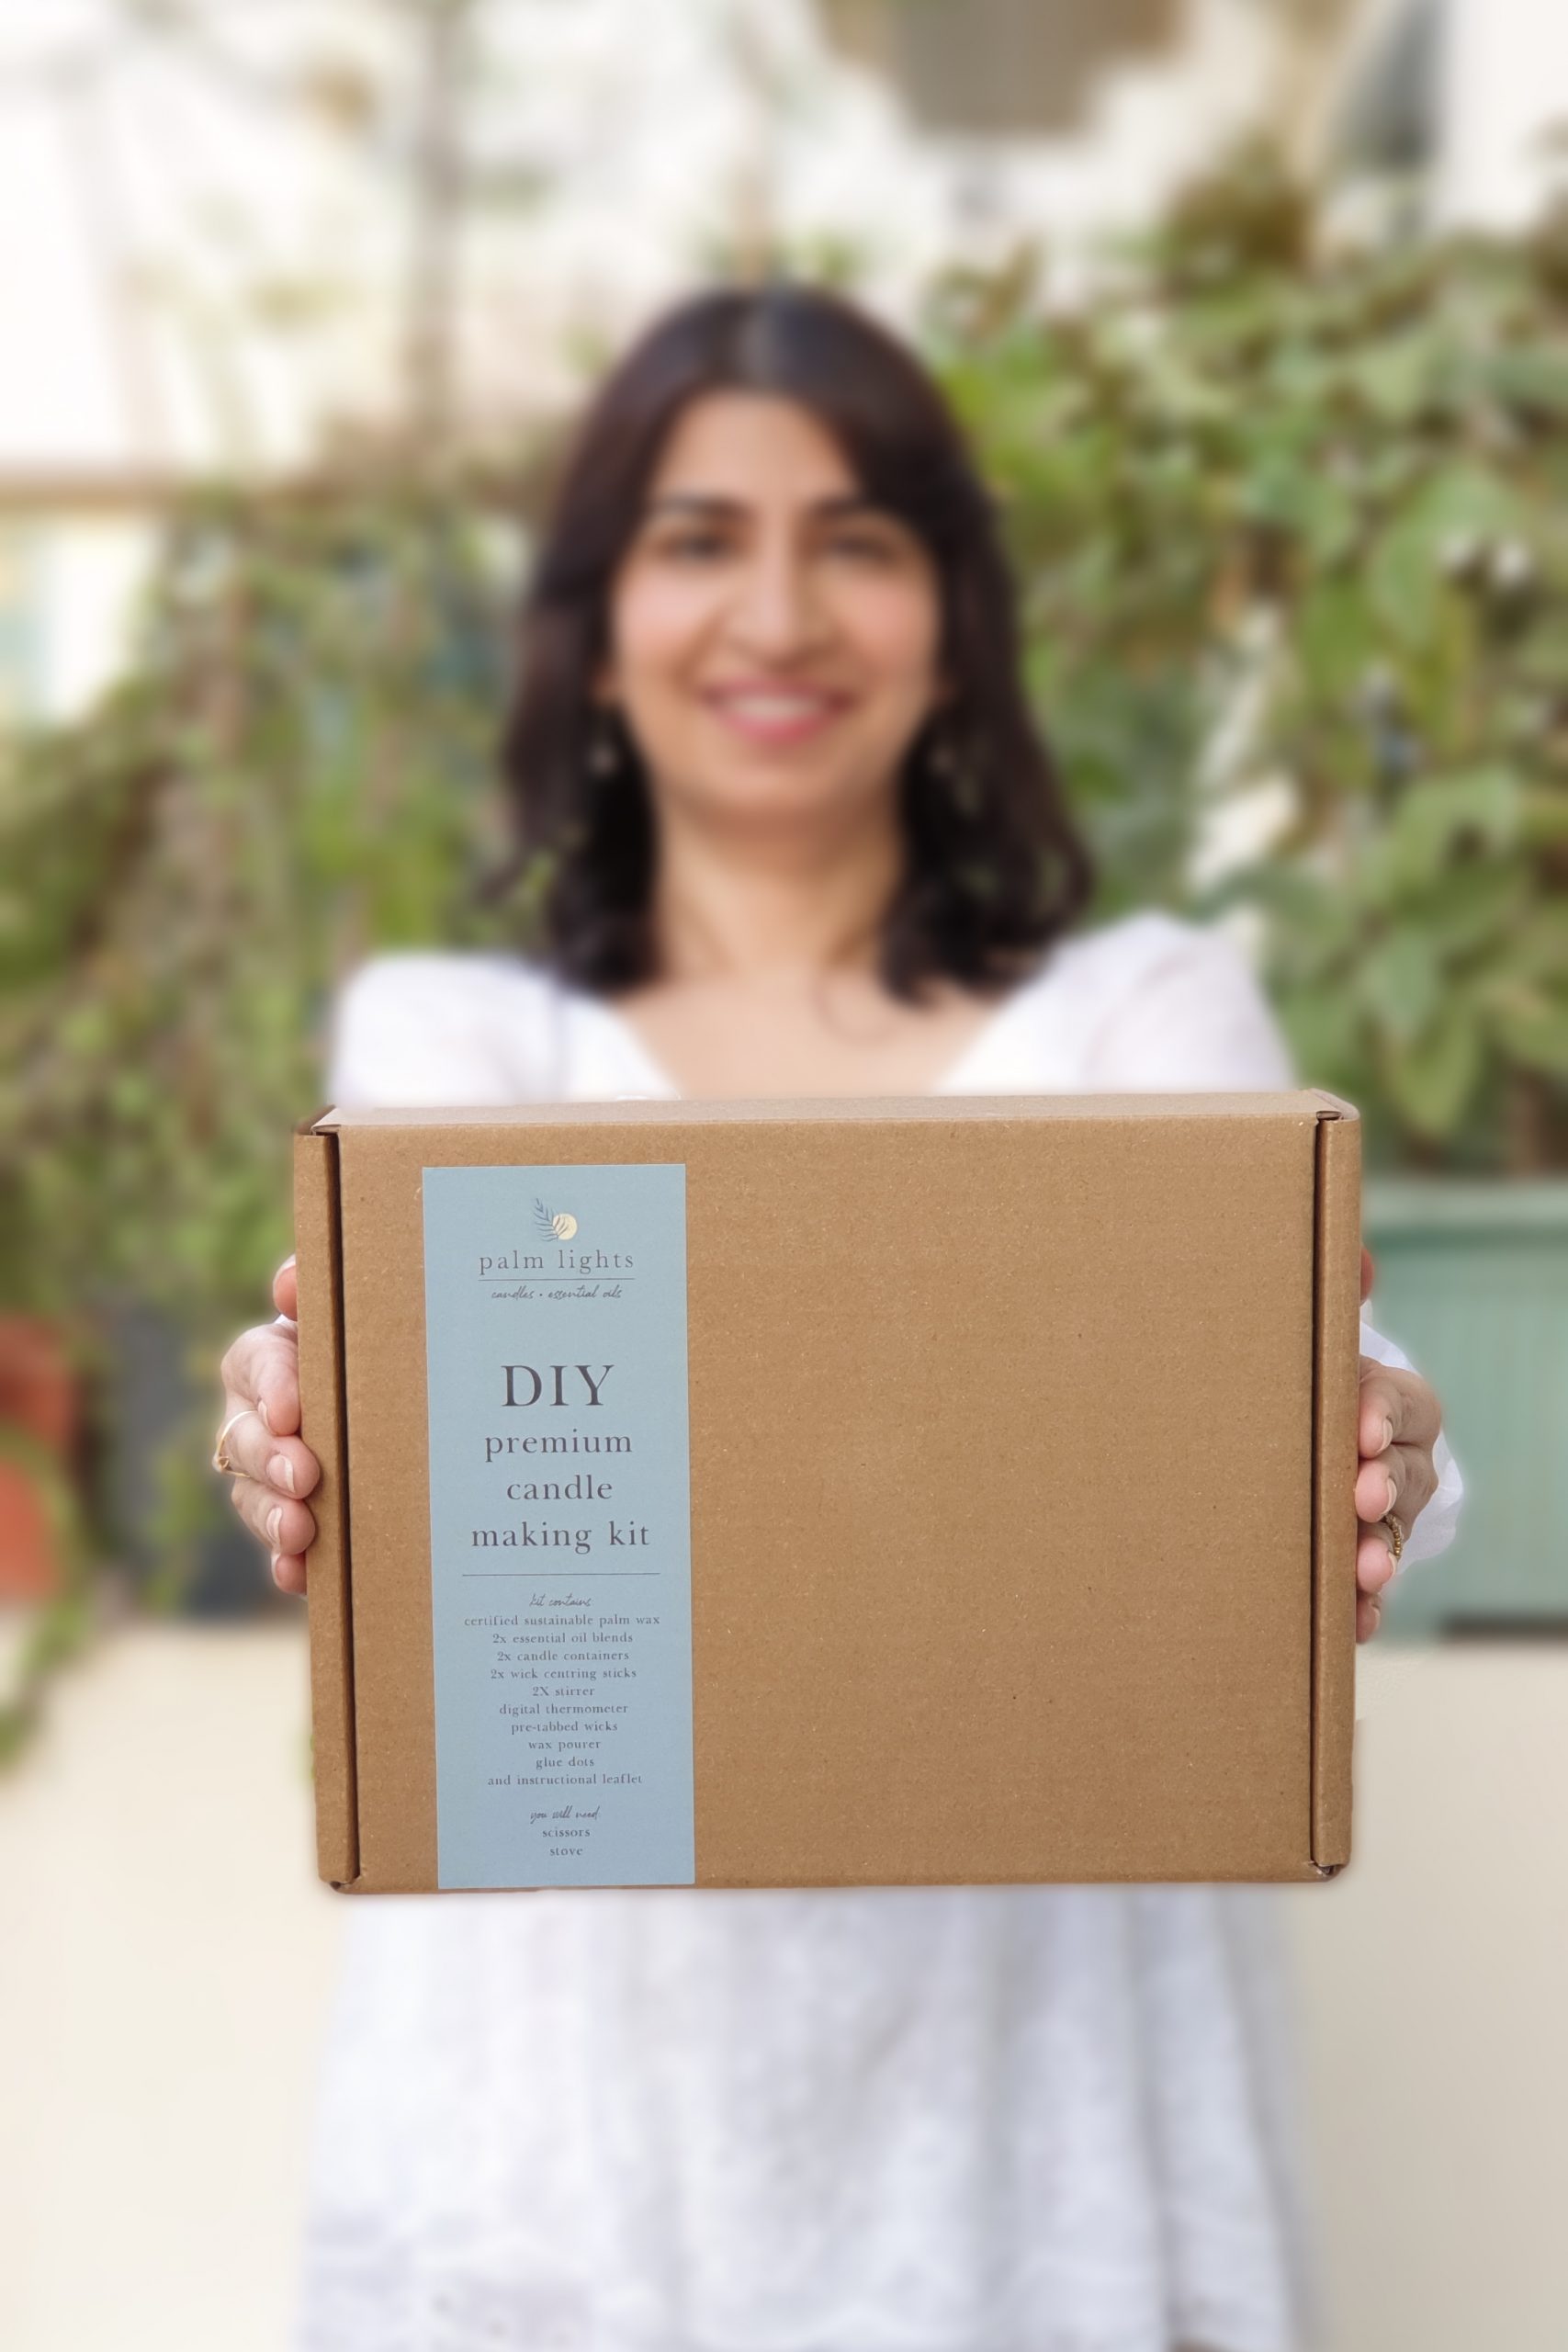
If you’d rather skip that part, a candle making kit for beginners already has everything measured and ready, so you can go straight into the process.
Step-by-step: how candles are made
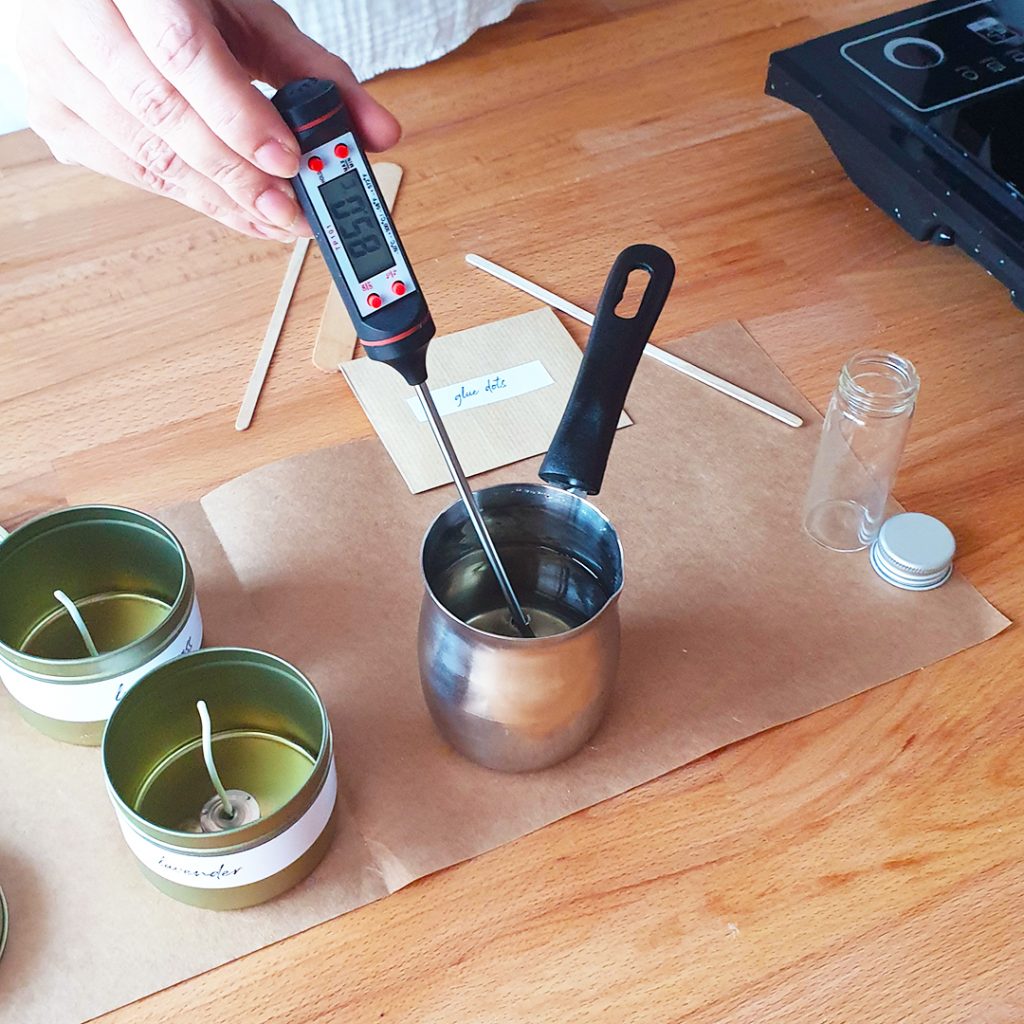
1. Melt the wax
Heat the wax slowly using a double boiler or heating plate. Most waxes melt between 70–85°C.
Keep it gentle overheating affects how the candle sets later.
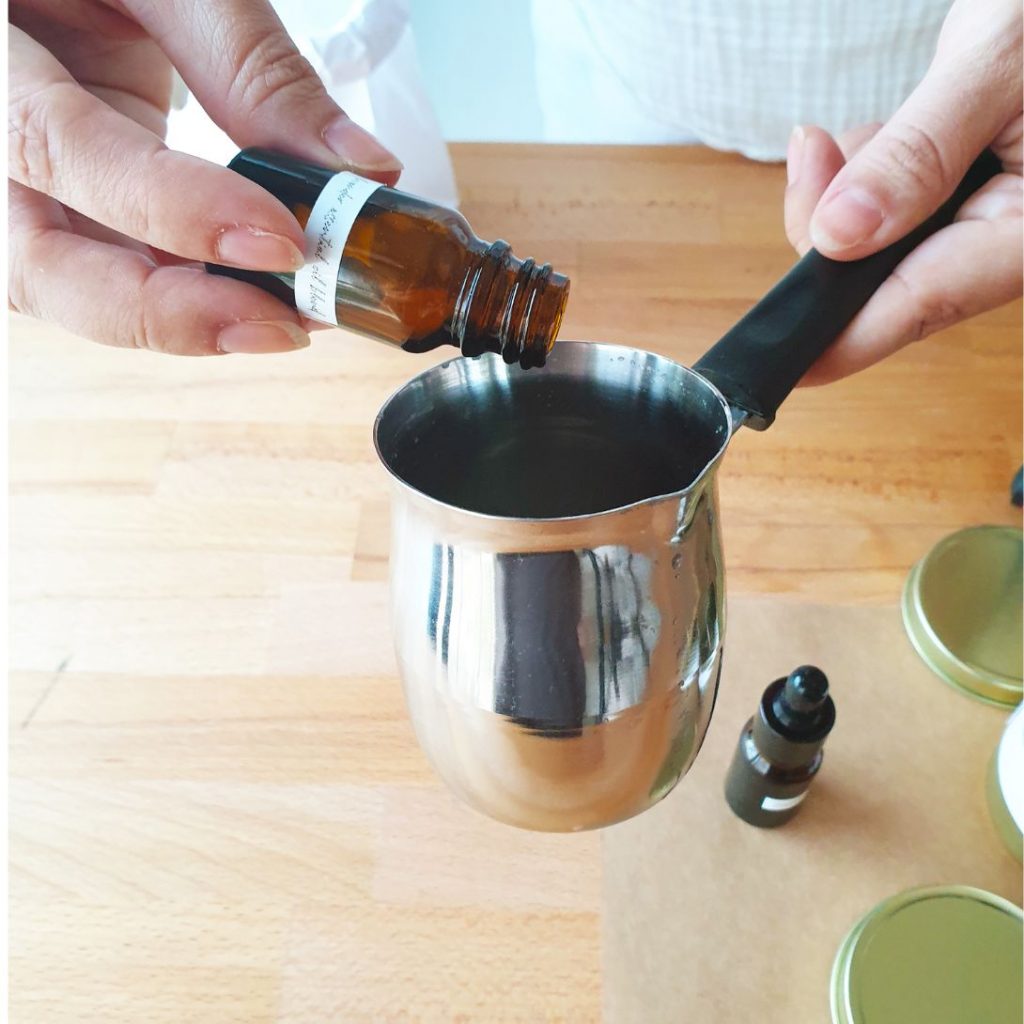
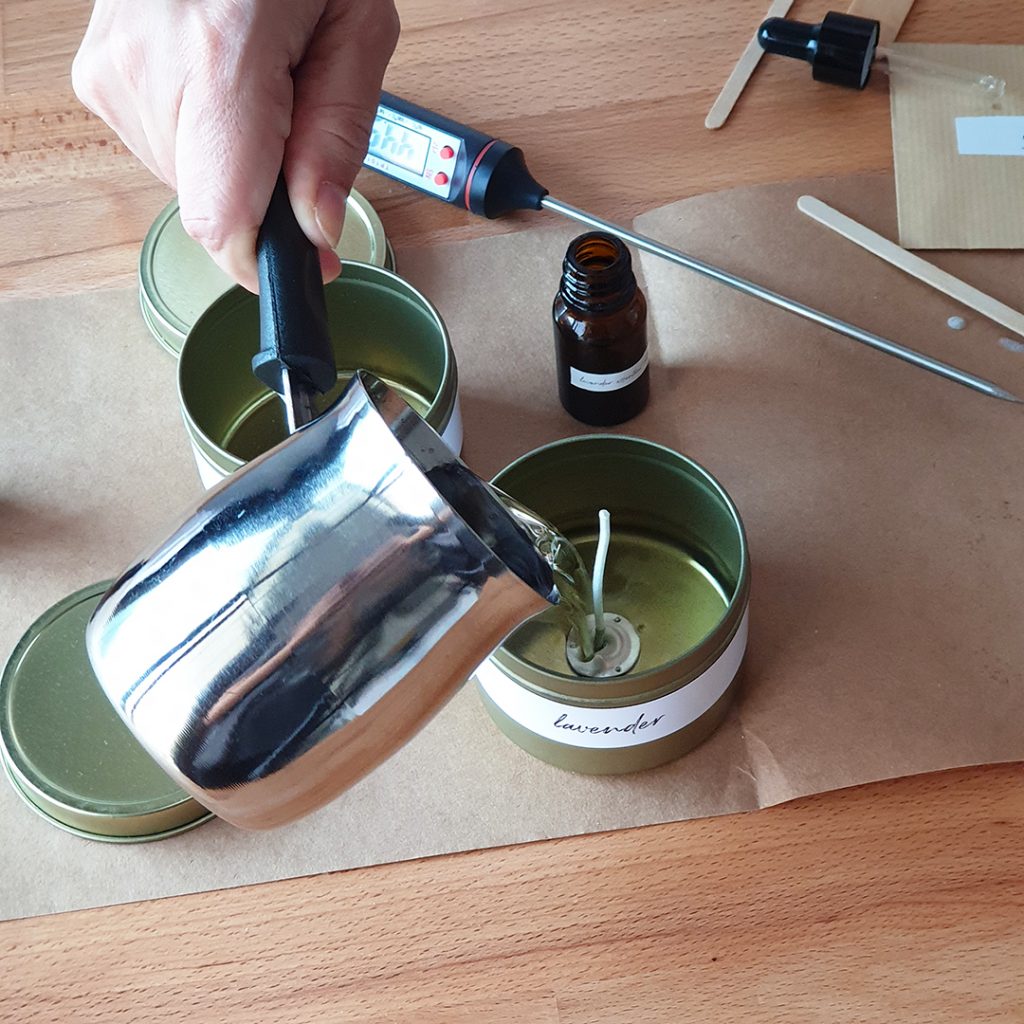
2. Add fragrance
Let the wax cool slightly, then add your fragrance.
Stir slowly so it blends evenly. This step decides how well the scent carries when the candle is used.
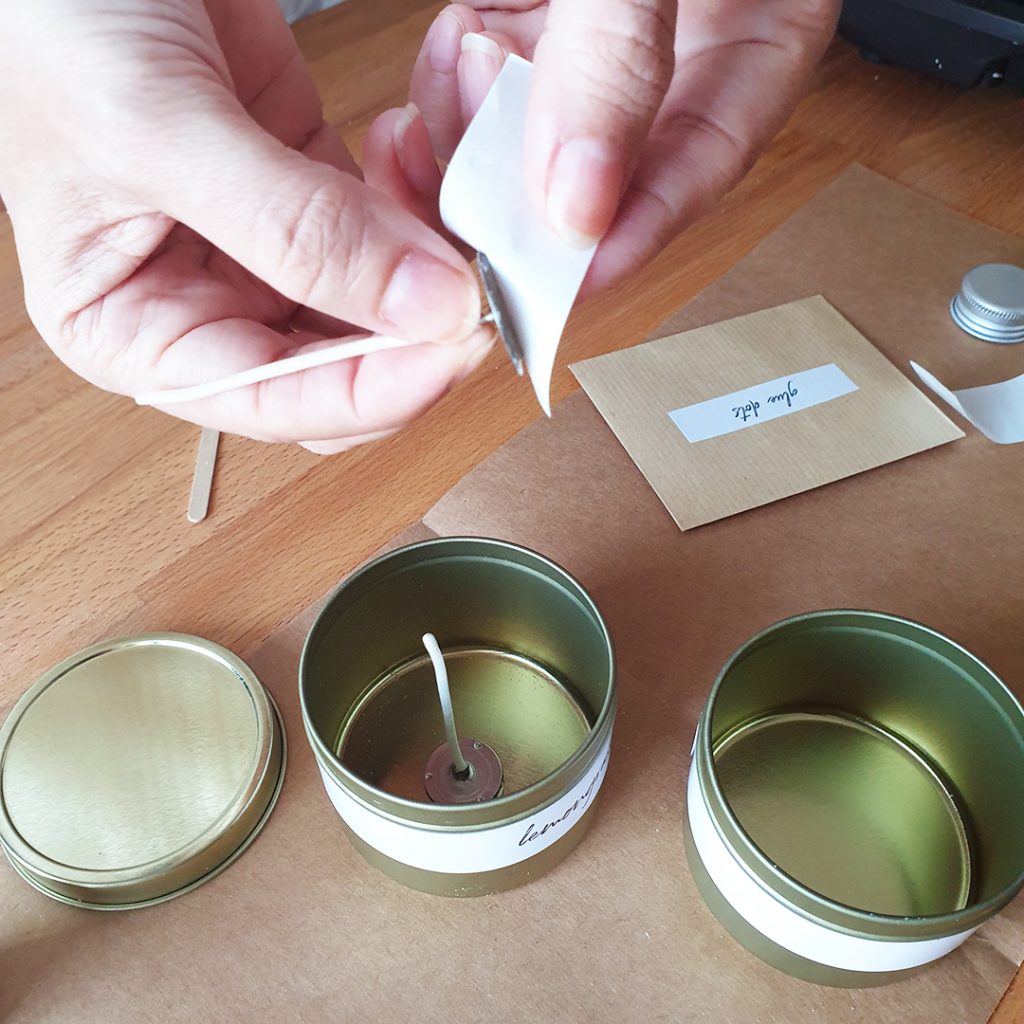
3. Prepare the container
Fix the wick at the base and keep it centered.
A steady wick ensures an even burn. If it shifts, the candle won’t perform properly.
4. Pour the wax
Pour slowly into your container.
A steady pour gives a smoother finish and avoids air bubbles.
5. Let it set
Leave the candle undisturbed while it cools.
This takes a few hours. Moving it too soon can affect the surface and structure.

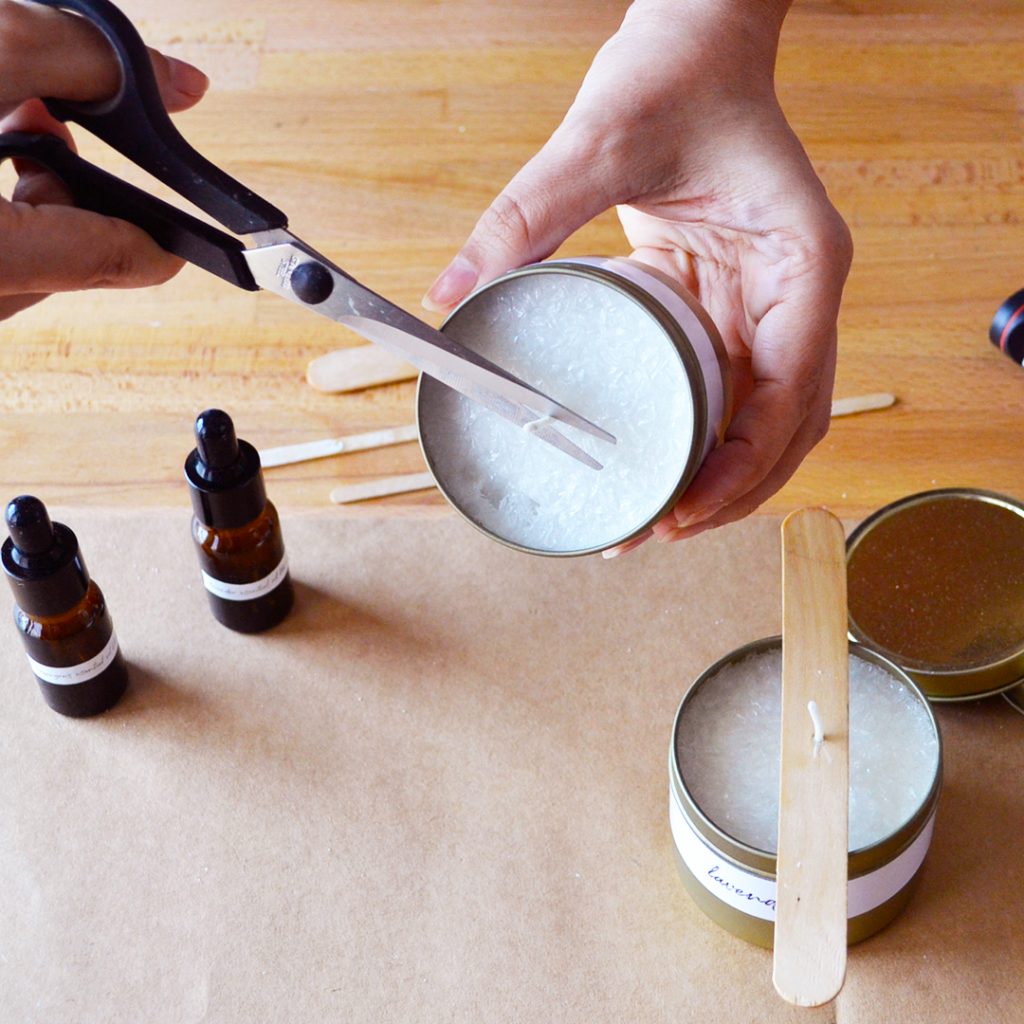
6. Trim the wick
Once set, trim the wick to about 5 mm.
This helps the candle burn cleanly and evenly.
Watch it once before you try
If you want to see the full process in action, this step-by-step video makes it very clear:
Sometimes watching it once removes most of the hesitation.
Where it becomes easier
The process itself is simple. What usually complicates it is:
- measuring wax and fragrance
- getting the right proportions
- figuring out tools
That’s why many people start with a DIY candle making kit. it removes the setup and lets you focus on actually making the candle.
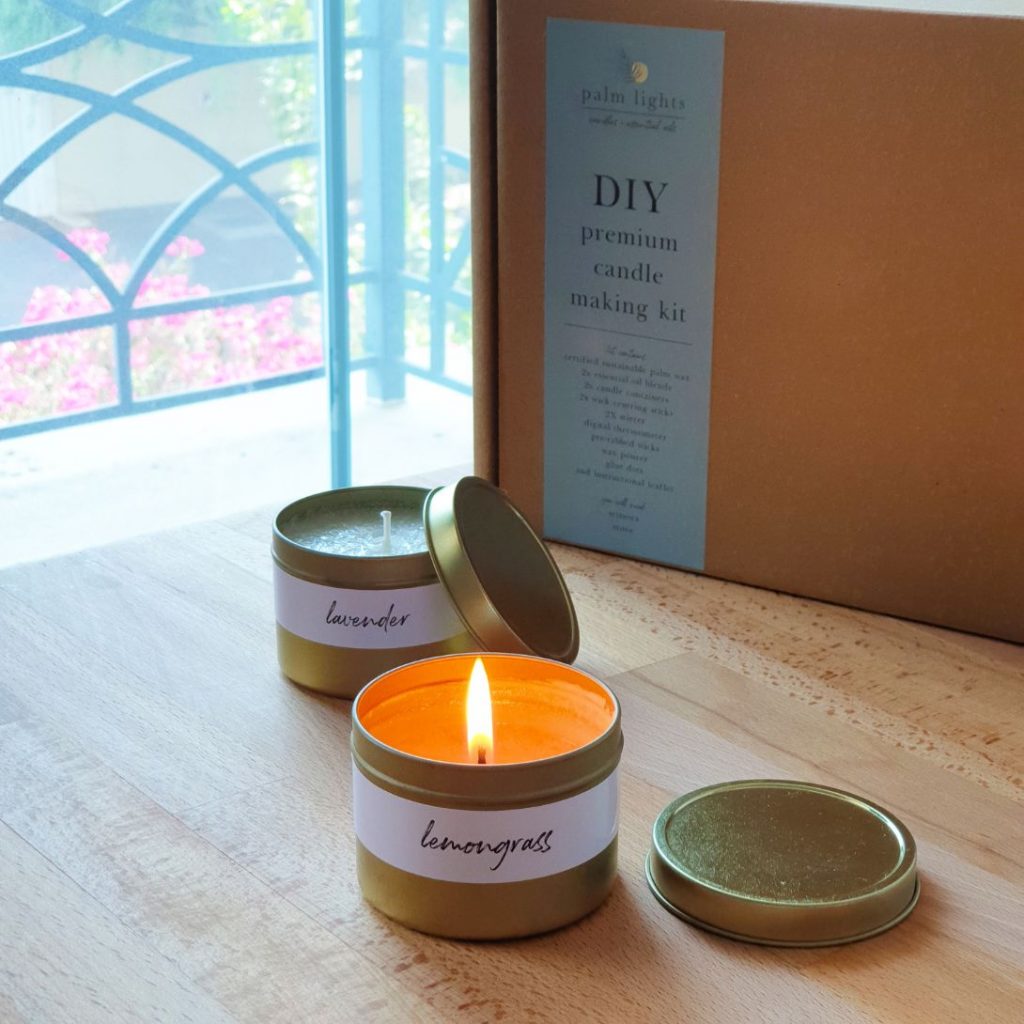
Everything is aligned:
- pre-measured wax
- tested fragrance blends
- containers and tools included
So instead of figuring things out, you just follow the steps.
You can explore the kit here:
.
Sorry, the comment form is closed at this time.